It’s that time of the year again – where we have totally skipped Thanksgiving and the stores have stocked their shelves with Christmas stuff, carols are playing on the PA systems, and yes, some people have even put out their Christmas decorations. Meanwhile, I am trying to figure out where oh where the last ten months have gone. I am far from ready for the chaos of the holiday season. So I bring you not “The 12 Days of Christmas,” but “The 12 Tips of CVENT™.”

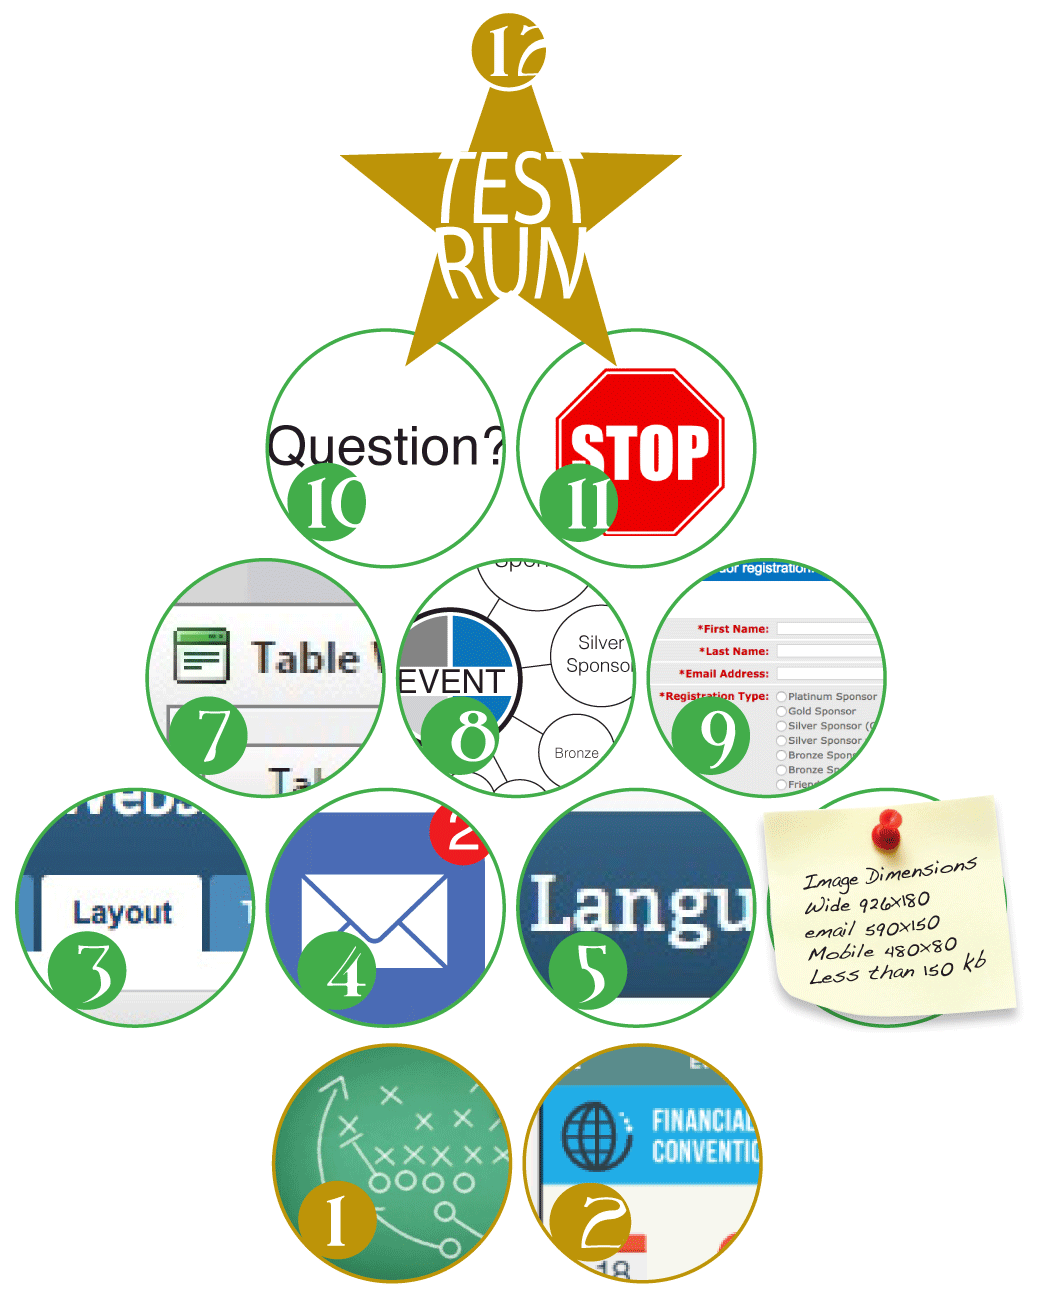
Before starting your event in Cvent, have a game plan. What registration process do you want presented to the registrants? Decide what contact types to use and how many registration paths you will need. Predetermine your fees (early and late) and your cancellation policy.

Try to pair your Cvent theme to your custom event header.
Think: Colors, Fonts, Style.
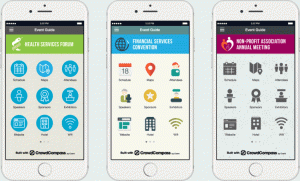
Click image below to see the sample mobile themes.

Choose your layout before designing your event summary page, etc.
[1 column, top navigation or 2 column, side navigation]

Cvent will automatically send you an alert for those activated. These are awesome for tracking failed transactions and modified or cancelled registrations. Plus, there is a lot of other alerts you can set up depending on what you want to track for your event.
Set-up “Planner Alerts” by going to “Promotion & Communication” tab and selecting “Planner Alerts” under the “Alerts” column.

I don’t know about you, but there is always that one default header/tab where I need to tweak the wording just a little bit. Not only can I search for answer language management, but I can change it there also. Score!
Find Language Management under the “Website & Registration” tab in the “website” column.

Adding images and custom headers can make your event standout. However, knowing your dimensions and editing them before uploading to Cvent is crucial.
I keep a sticky note cheat sheet of Cvent graphic dimensions on my computer desktop. The header dimensions we use are as follows: wide 926x 180, email 590×150; mobile 480×80 and always keep them lower than 150kb.
Tip: If creating headers in a program like Illustrator or InDesign, be sure to use 72 dpi to save it out as the true size.

At first creating tables in HTML scared me and I could never get them to layout correctly, but once I got them figured out, it helped streamline the process. The tables can add a ton of customization to your event – from simply changing the layout to making important directions/notes pop.
To add a table click “Edit Section” when the window pops up click on the “insert” tab, select the “insert table” icon, click on “all properties” and use the “Table Wizard” to customize it!

With most of our events, we have a minimum of two registration paths. Which in Cvent language means a lot of clicks, edits, and saves.
But here’s my secret – edit one path, making all the necessary changes to your basic settings, security, contact fields, groups, item selection, summary and payment, confirmation, and all those little subcategories in between. Then, copy, rename, and make any changes you need. Not only does this help streamline your paths, but this will help cut down on the time spent setting up the contact fields and summary and payment pages.

Setting up and designing the registration pages in Cvent appears nothing like what a registrant sees. So how do you set up your registration pages and keep a bird’s eye view on what a registrant will see?
My trick – I will run the event in preview mode and as I move through the registration process, I update Cvent with the necessary changes on the administrative side. It’s as close as you can get to live editing. Just remember to click all the necessary saves on the administrative side and refresh your preview mode screen.

Is it a “Question” or a “Custom Contact Field?” Sometimes something you may think is a question might just be more useful as a custom contact field (i.e. emergency contact information in my opinion is more useful when set up as a contact field instead of a question).

This one gets me every time. I’ll stop in the middle of setting up an event (i.e. in the middle of customizing a registration path), come back to it later and have no idea where I left off.
So as a rule of thumb, I try to pick a good stopping point that I can pick up from later quickly.

Then have someone else test it. Even if you follow tip #9 from above, errors still happen. Always test your event using every scenario imaginable. Finally, use someone else’s fresh set of eyes.
There you have it, my version of “The 12 tips of Cvent.”
Wishing you a very successful Cvent adventure, Happy Thanksgiving, Merry Christmas, and Happy New Year!
Autumn
About the author:
Autumn Gilleard, was born and raised in Western Montana Autumn lives on a ranch with her husband, two daughters, and son. She enjoys spending time in the outdoors with her family 4-wheeling, fishing, rafting, and hiking. When not out on a adventure with her family, you can find her at the Missoula Taekwondo Center. Where she trains as a black belt and part of a competition team. (She is Worth the Fight……Hahahahah)


